The latest ArcGIS Online update included a beta version of the Web AppBuilder for ArcGIS. Using this you can create custom apps based on a library of ready-to-use widgets. No coding or programming is needed, and your applications can be run on any device. Just follow these steps:
1. Share Your Web Map
Open your Web Map in ArcGIS Online > Click Share > Choose who to share the Web Application with > Click Make a Web Application > Click Web AppBuilder (Beta) > Fill in details for Title, Tags, and Summary > Click Get Started.
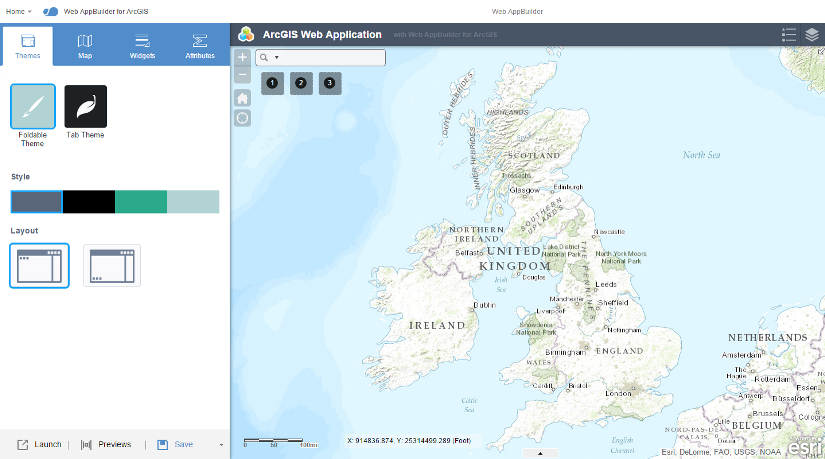
2. The Web AppBuilder
You’ll notice that the map is the main focus of the AppBuilder window, but if you focus your attention to the top left of the screen, you will see 4 tabs, ‘Themes’, ‘Map’, Widgets’, and ‘Attributes’.
3. Choose a Theme
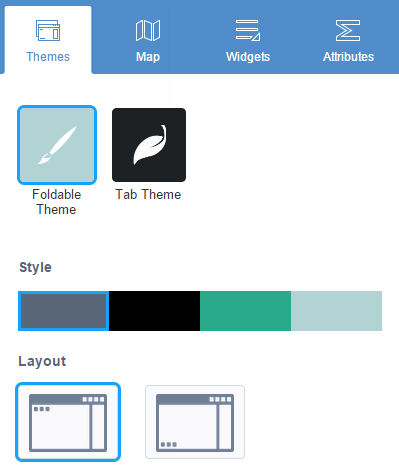
The Themes tab allows you to choose the layout and colour of your application. When you are happy with your choice, click Save at the bottom of the screen and move onto the Map tab.
4. Set the Map
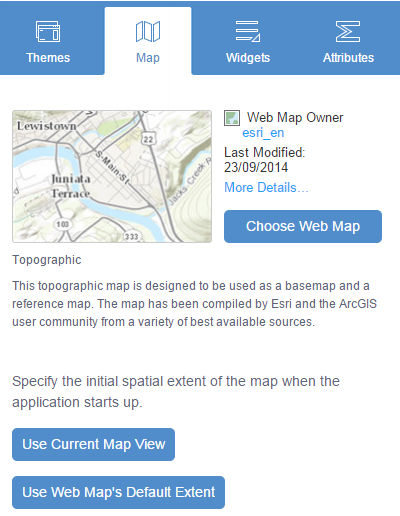
The Map tab allows you to choose/change the Web Map you wish to use and set the initial extent of the map when the application is opened. When you are happy, click Save and move on to the Widgets tab.
5. Selecting Widgets
The Widgets tab allows you to set functionality of your Web AppBuilder application. There are a set of default widgets and some place holders for additional widgets:
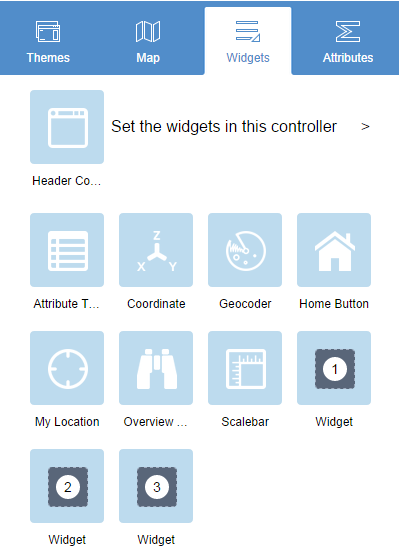
Here are some tips on the Widgets tab:
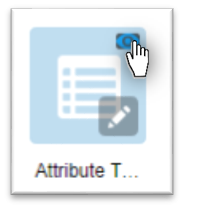
a. If you wish to remove any of the default widgets, simply hover your mouse over the widget and click on the little eye to hide it, and click on it again if you wish to use it.
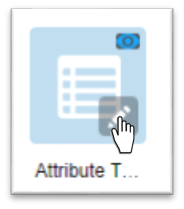
b. If you want to change the properties of any of the default widgets, hover your mouse over the widget and click on the little pen to open the properties dialog of that widget.
c. To add another widget to your application you have 2 options:
i. Click on an empty widget, pick one from the list and set its properties, or

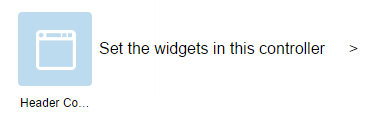
ii. Click on ‘Set the widgets in this controller’ and select ‘Click here to add widget’ to select a widget from the collection.

For more information on setting the properties for all the widgets, please browse to here. When you are happy, click Save and move on to the Attributes tab.
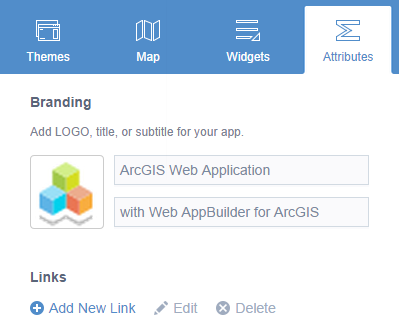
Application Attributes
The Attributes tab allows you to add the finishing touches to your application. Add a logo, title and subtitle to your application and maybe add a link to your home organisation’s website so users can navigate to more information.
When you are happy with your application, click Save and Launch to see your finished product! In 6 quick steps, you have created a custom application that can be configure for your organisation’s needs. For more information on the Web AppBuilder, please see here.